AIM’s Decibelle Acoustic Panels: Versatile and Customizable
- June 12, 2023
- By: Editorial Team
- NEWS
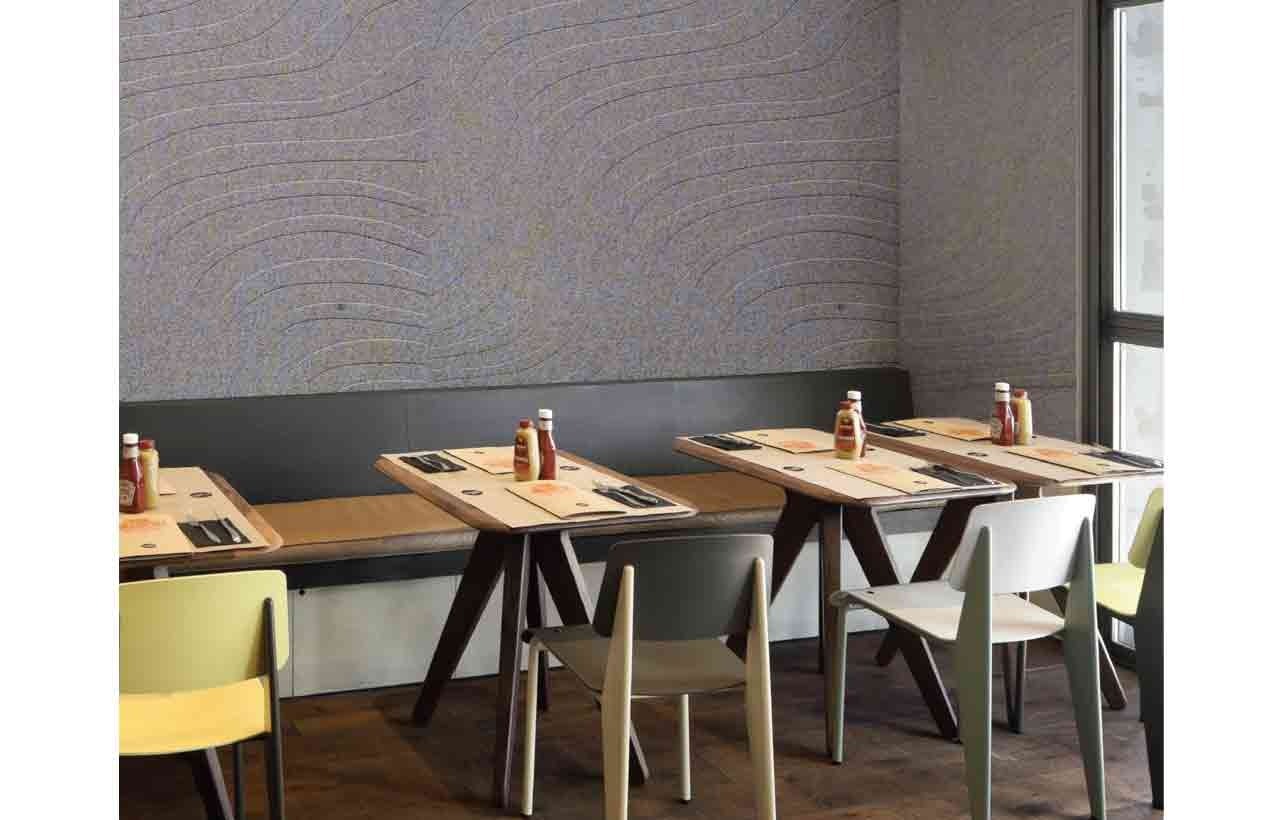
 AIM the leading interior decor company--has launched its DECIBELLE Designer Acoustic Panels, which are Acoustic Non Woven Polyester Fiber Panels, made from high quality polyester fiber, perfect for acoustic insulation in homes, offices, and public spaces, like restaurants and conference halls.
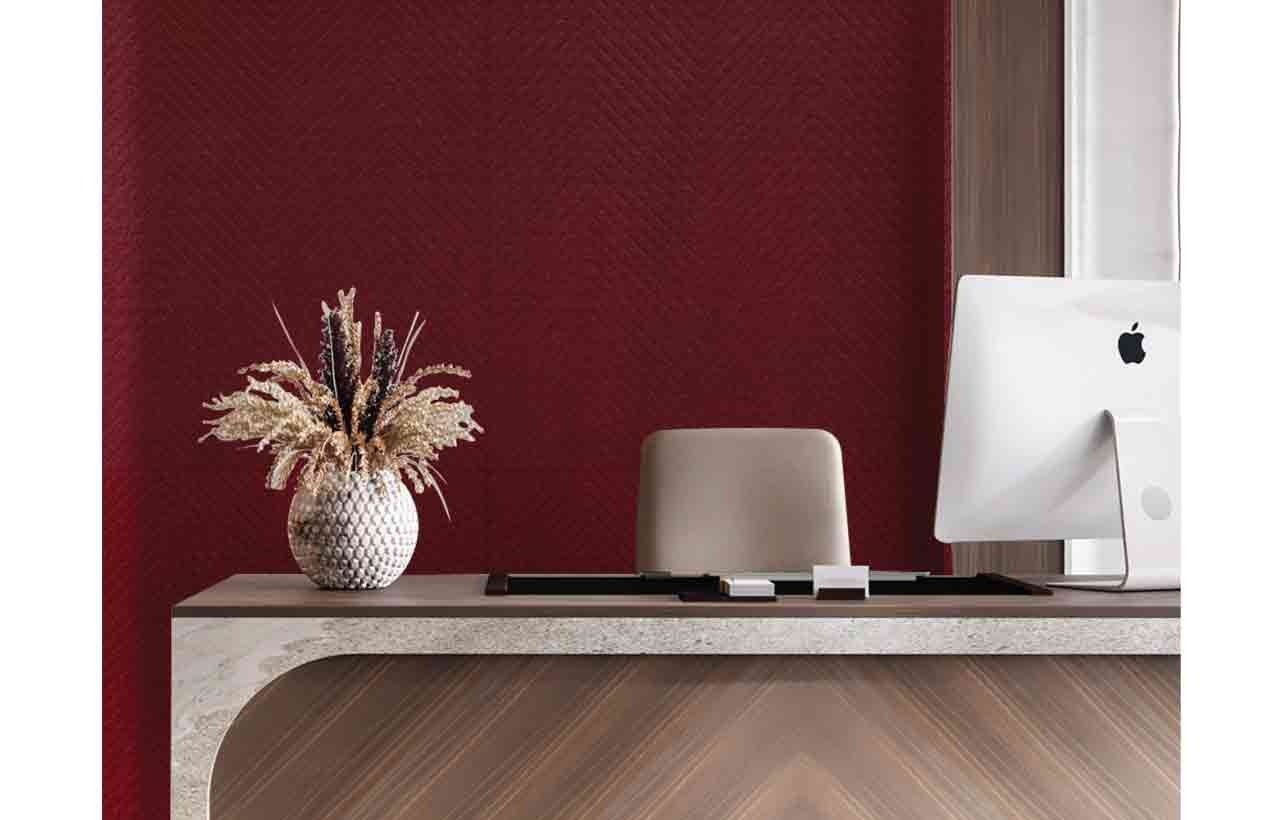
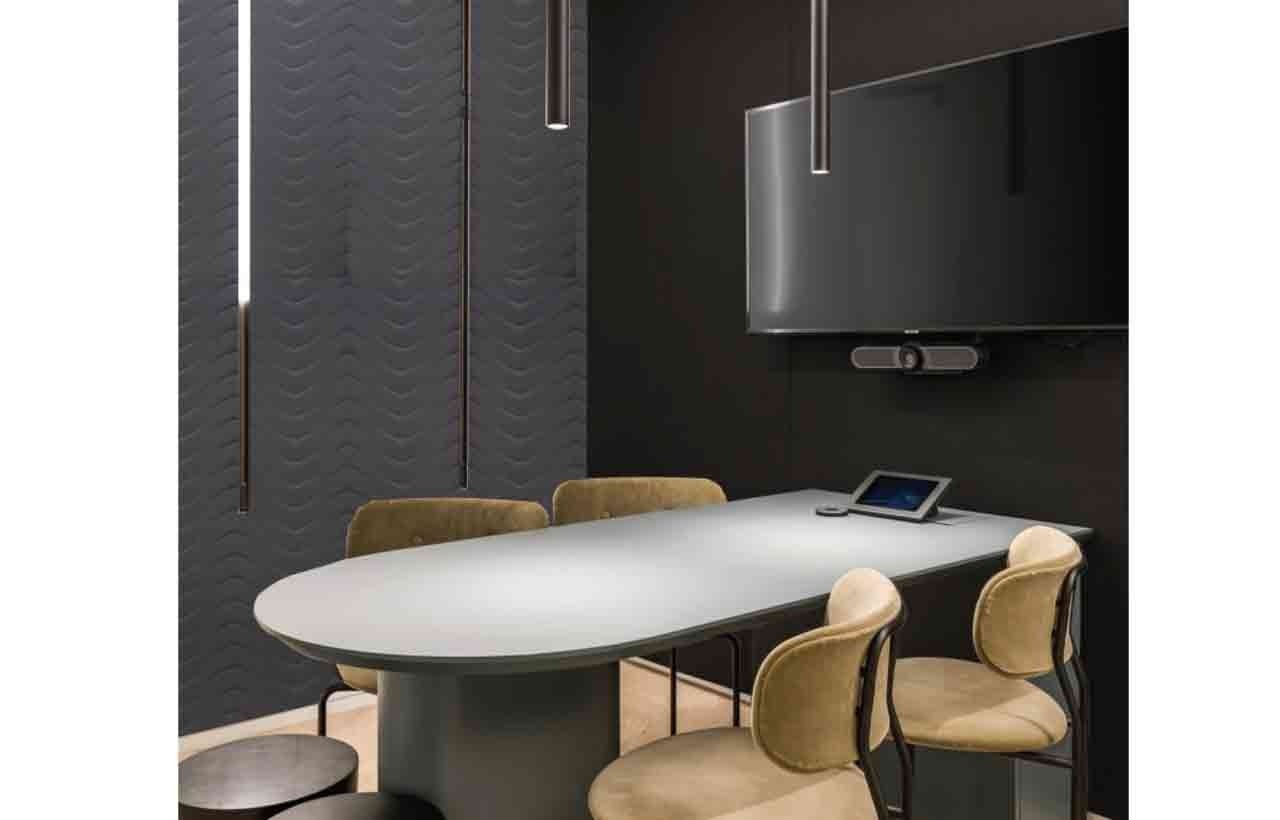
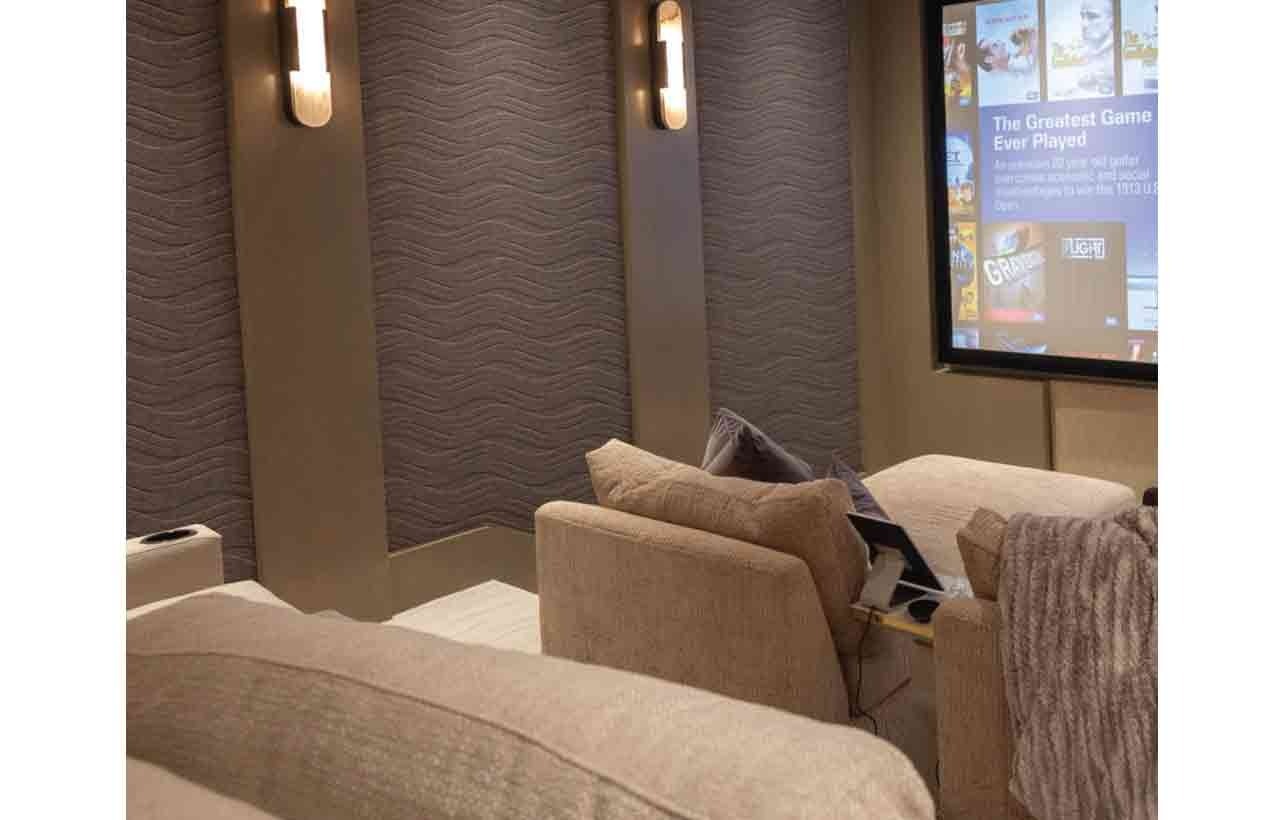
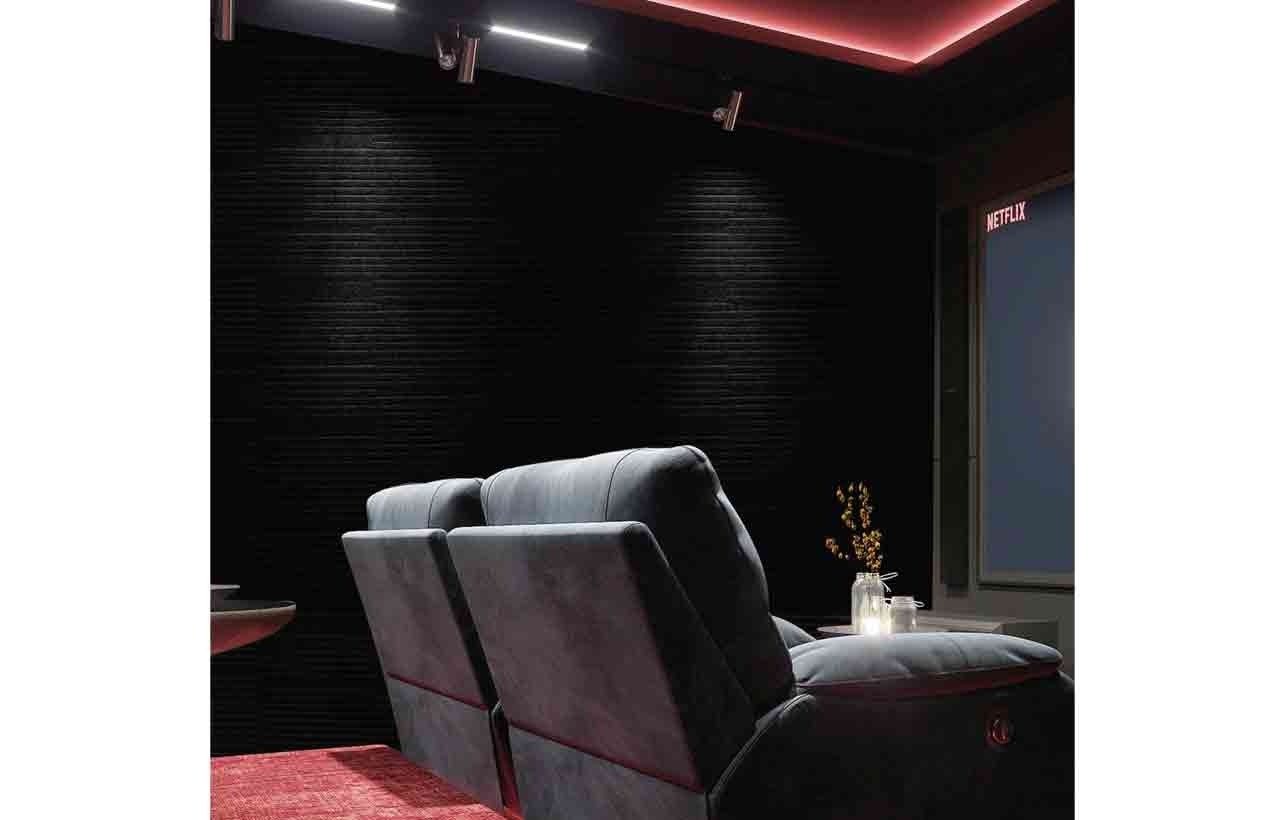
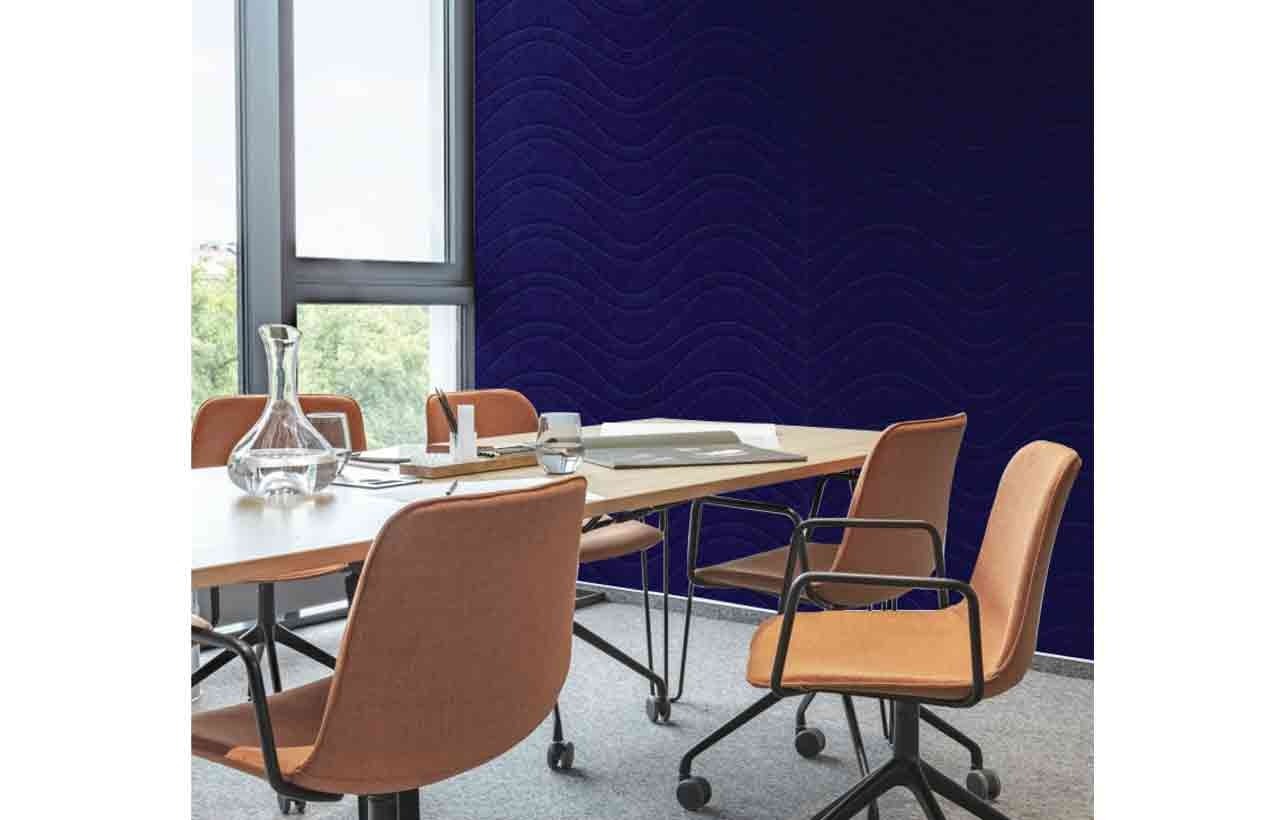
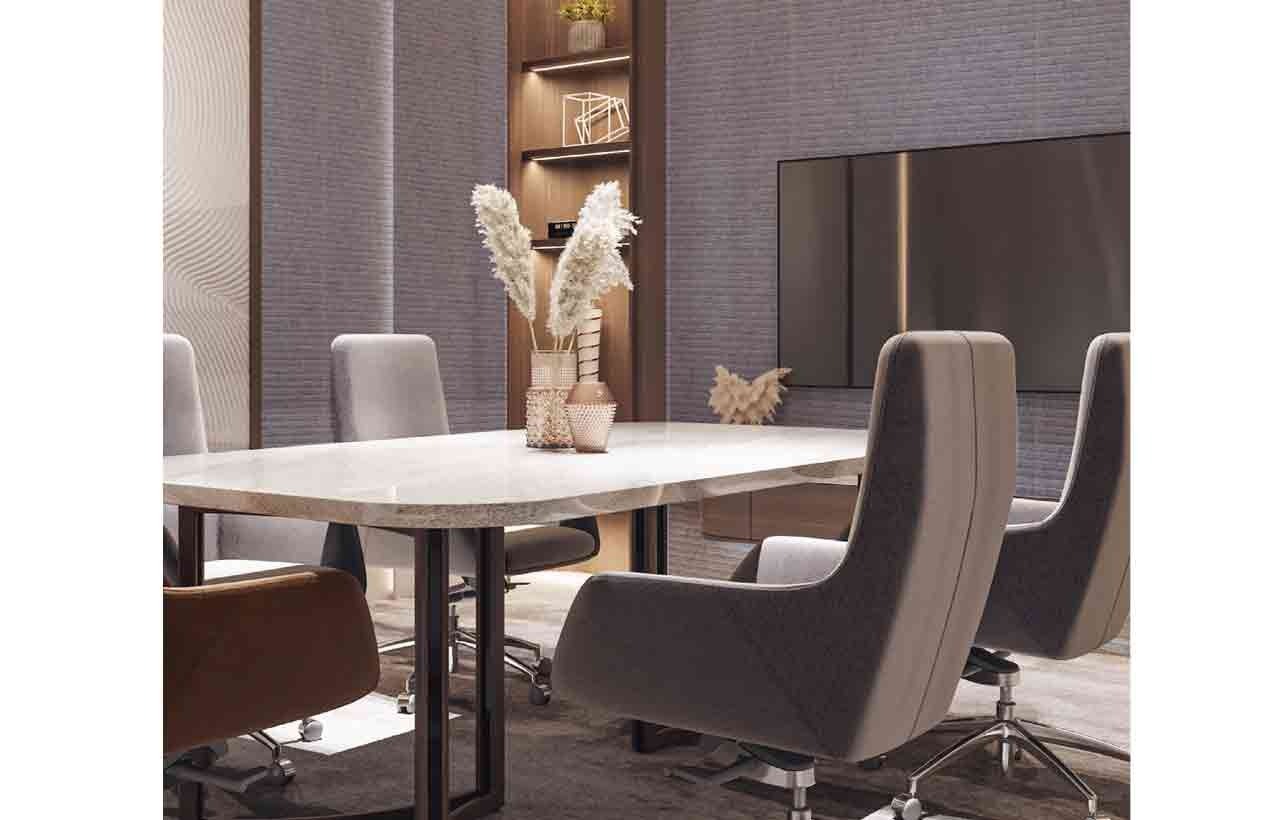
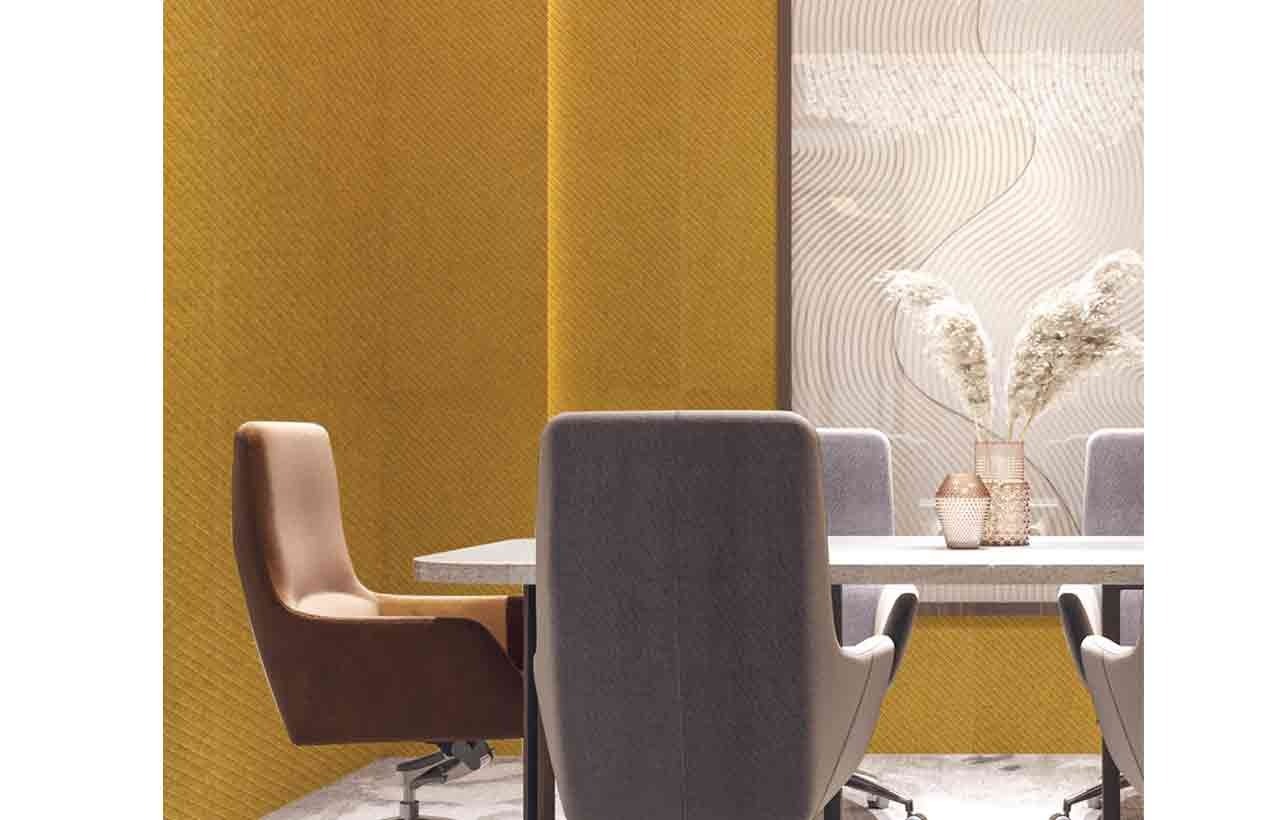
Decibel is a collection of Designer Acoustic Panels which are versatile and customizable, available in a range of colours and patterns, allowing customers to tailor them to their specific design needs. Their easy installation process makes them suitable for any surface, including walls and ceilings, making them a popular choice.
 For anyone looking to enhance their space's acoustic performance while still maintaining its aesthetic appeal, DECIBELLE Designer Acoustic Panels are the perfect choice.
 DECIBELLE Designer Acoustic Panels
- High performance
- Highly versatile
- High resistance to humidity and moisture
- Easy installation and maintenance
- Light weight and flexible
- Made from polyester fiber
 DECIBELLE Designer Acoustic Panel is available in 14 attractive colour Options, namely, Dark Blue, Teal Blue, Maroon, Yellow, Coral Pink, Dark Beige, Natural, Banana Green, Marble, Slate Grey, Grey, Brown, Black, Charcoal, etc.
INSTALLATION GUIDELINES
They are easy to install and can help reduce unwanted noise, echoes, and reverberation.
Here's a step-by-step guide on how to install these panels.
STEP 1 : PREPARE THE SURFACE
Before installing the panels, make sure the surface is clean and free of dust or debris.
 STEP 2 : CUTTING AND TRIMMING
Use a measuring tape to determine the size and shape of the panel you need.
Using a sharp paper cutter, utility knife or scissors, carefully cut the panel. Make sure to apply enough pressure to cut through the panel without damaging it. If necessary, use sandpaper or a file to smooth out any rough edges or uneven cuts.
STEP 3 : ADHESIVE
Apply a layer of adhesive to the back of the panel using a roller. Make sure to spread the adhesive evenly over the entire surface of the panel. It's possible to use a (Silicone) adhesive to stick things onto a wall, and a high-strength adhesive (SR 505) on plywood or MDF.
Stay updated with the latest trends and developments in architecture, design, home decor, construction technology, and building materials through Building Material Reporter.